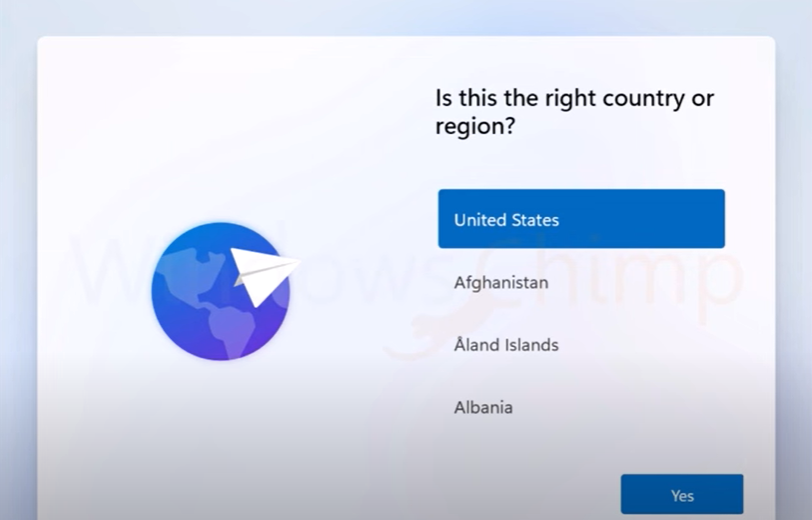
Juniper JunOS Routing Engine & Card Commands

show interfaces diagnostics opticsOptical and SFP info for all interfaces
show interfaces diagnostics optics <interface>Info for a specific interface
show chassis pic fpc-slot <n> pic-slot <n> xcvrTransceiver info by slot
`show interfaces diagnostics optics <int>match “Vendor”`

To log into the other/backup routing engine:

                                                request routing-engine login other-routing-engine

                                To log into the other routing engine on a Juniper EX/QFX Virtual Chassis:
                                                request virtual-chassis routing-engine login member <member-id>
                                To reboot a member in a Juniper EX/QFX Virtual Chassis: 
                                                request system reboot member <master-member-id>
                                Switch current master on a Juniper EX/QFX Virtual Chassis:
                                                request virtual-chassis routing-engine master switch

                               Alternative command (on some platforms):
                                                request routing-engine login backup

To check which routing engine you’re currently on:

                                                show chassis routing-engine

To see the status of both routing engines:

                                                show chassis hardware


PERCCLI migrate RAID level

You are using a DELL server with a PERC RAID card and need to migrate the RAID level to a different level.

Install PERCCLI if you haven’t done so already. Install new discs into the physical server if you do you do not have spare discs available.

Show all physical disks:

./perccli64 /c0/eall/sall show

Identify your unused disks.

/perccli64 /c0/v0 start migrate type=r5 option=add drives=31:4  (In this command, I am converting a RAID0 to a RAID5 with a new disk located at: E31:4)

To watch the migrate status, use this command:

./perccli64 /c0/v0 show migrate

Here are the supported RAID migration levels:

Virtualize SCO Unixware on VMware or Proxmox

Converting SCO machines to another virtualization platform is relatively straightforward if the VM is using IDE. After conversion you will need to play around with the IDE ID number. On Proxmox, it can literally be anything from 0 to 3. Just mix and match until it boots.

If the VM was setup using a VMware SCSI controller (Buslogic primarily), you are in for some fun. With the VM on VMware you’ll need to change the HBA to IDE. There is a fine KB article (https://www.scosales.com/ta/kb/125433.html) that may or may not exist when you read this. Here are the essentials that you will need:

1.   Backup your kernel and resmgr files. These files are necessary to recover your system should the need arise. 
     # cp /stand/resmgr /stand/resmgr.adsl 
     # cp /stand/unix /stand/unix.adsl
2.  Type this command to find the SCSI controller:   resmgr
3.  Remove the SCSI controller:   resmgr -r -k  "key"   (key is the number in the first column next to the SCSI HBA)
4.  Update the resmgr database by telling it which hba to  boot from 
    # resmgr -m ide -i 0 -p BOOTHBA -v 0  
5.  Update the kernel configuration files under /etc/conf/sdevice.d 
    # /etc/conf/bin/idconfupdate -f 
6.  Statically link your new hba driver in the kernel 
    # vi /etc/conf/sdevice.d/ide 
         Add a line "$static" after "$version 2" 
7. Relink the kernel 
    # /etc/conf/bin/idbuild -FB 
            
Reboot

Proxmox Orphan Disks – qm rescan

You’re feverishing creating VMs trying to get off of VMware and you cancel various imports. Well, those cancelled imports create disks and then cause warnings like these:

WARNING: You have not turned on protection against thin pools running out of space.
WARNING: Set activation/thin_pool_autoextend_threshold below 100 to trigger automatic extension of thin pools before they get full.
WARNING: Sum of all thin volume sizes (<12.78 TiB) exceeds the size of thin pool and the size of whole volume group (8.73 TiB).

How to fix? List the disks for all VMs by typing: lvs <hit enter>

A list of disks will be produced. For any duplicate disks, strange looking disks, etc. Rescan the storage for that VM and the orphans will be added to the VM and you can then delete them.

Rescan with: qm rescan –vmid <enter VMID from Proxmox>

ESXi VM packet sniffing tcpdump port group

You need to sniff the packets of a particular VM but can’t get tcpdump or tcpdump-uw to work properly. It’s not tcpdump that you want to use, but pktcap-uw.

pktcap-uw is a marvelous tool for looking at the packets from a VM.

A quick and simple dump is achieved with this command: pktcap-uw –switchport 50331881 -o /tmp/50331881.pcap

–switchport is the virtual port ID of the VM. -o outputs the the dump in a pcap format file that can be viewed in Wireshark.

To find the switchport ID of a VM, type the command: net-stats -l

net-stats -l will output a list of all of your VMs and their port numbers.

Windows XP TLS 1.2 and other things to make it usable in 2020.

You have an ancient Windows XP you need to access and keep online.

  1. Run Windows Update

2. A working browser is crucial. Firefox ESR 52.9.0 32 bit works great and is available here: https://ftp.mozilla.org/pub/firefox/releases/52.9.0esr/win32/en-US/

3. Install TLS 1.1 and TLS 1.2 and update IE8 using the POS files. This website is all you need to accomplish this task:

https://emailarchitect.net/easendmail/sdk/html/object_tls12.htm

4. After you do all of the above update, upgrade RDP. RDP has had a lot of security holes over the years and you will want to update it urgently: https://support.microsoft.com/en-us/help/4500331/windows-update-kb4500331